How to Grow Delicious Tomatoes in Kratky Hydroponics
 Zac du Toit
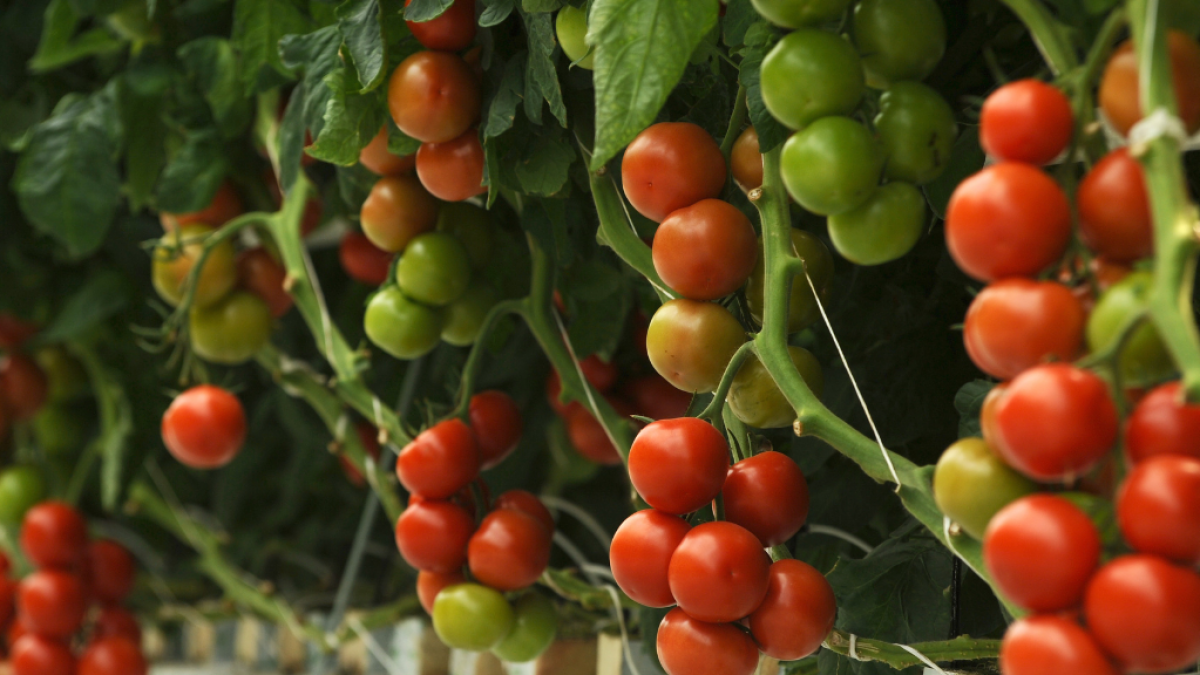
If you are looking for an easy way to grow an abundance of tomatoes like this – then look no further than the Kratky hydroponic system. In this post we are going to show you the simplest way to grow tomatoes in Kratky hydroponics, covering the basics of how this system works and discussing some fundamental elements like tomato cultivar selection and fertilization.
We are going to begin with a quick explanation for how Kratky hydroponics works.
How it works
- The plant is placed in a net cup over a container full of nutrient-rich water. At this time, the roots are just barely touching the water.
- As the plant grows and root system develops, the water is depleted at a rate so the tips of the roots are just barely in contact with the water. The rest of the roots not actively absorbing water are instead absorbing oxygen.
- By the time the water levels are almost completely depleted, the plant is ready for harvest. And as such, just one big water supply at the beginning of the growing cycle is enough to supply the plant until harvest time.
64fb0e4790d03_lg.png)
Watch our video here:
How to DIY Kratky Hydroponics
To get started, you will need 20l black buckets like this. Do not use clear buckets, any light that enters the buckets will encourage algae growth which we don’t want. We used shop bought seedlings of the Floradade tomato. This is a heat tolerant, disease resistant variety which is perfect for our hot summers. You will also need some net pots, expanded clay pebbles like this leica, and a drill with hole saw attachments.
Start by drilling a hole into the center of the lids. The hole should be just smaller than the circumference of the widest part of your net pots. Next, we need to drill a drainage hole. Measure two thirds of the way down your nets and drill a hole into the side of your buckets that aligns with this length. This will promote fresh air flow through the upper root system of your tomatoes, which is essential for healthy root growth. Now check your water levels with your pots in the holes. The water level should reach a few centimeters (or one to two inches) up the height of your pots.

Download your free eBook here: https://epicveg.newzenler.com/...
Prepping your seedlings
First add a layer of leca to your pots, nestle your tomato seedling into the leca, then fill the pots with leca to support the tomatoes. Its as simple as that.

Fertilisation
The last thing you need to do is add fertiliser. And to be clear, no this is not pee but an NPK mix. We used three different fertilisers, a complete mixture with nitrogen, phosphorous, potassium and other minerals, magnesium sulphate, and calcium nitrate. Based on these fertilizer recommendations, for 20l buckets we needed 10g of each fertilizer. This is how we mixed our fertilisers. Because calcium nitrate can precipitate when mixed directly with the other fertilisers, we first dissolced the NPK and magnesium sulphate. To maintain proper concentrations in each bucket, we filled them with water about two thirds full. Then we dissolved 10g of the NPK and 10g of magnesium sulphate and poured it into the buckets. Then we dissolved 10g of the calcium nitrate and added it to the buckets. Lastly, we filled the buckets to the drainage line with water.
Finishing touches
Now we can finish up by adding the lids and popping the tomatoes into the buckets. This is really such an easy system to set up and we cant wait to see how it grows throughout the season. Towards the end of the season we will make a full guide from start to harvest and discuss some more important aspects like trellising, pruning, and pest and disease management.
